
Wall Printing Site Survey Checklist for Saudi Project Teams
Prepare Saudi wall printing projects with a practical site survey checklist covering dimensions, surfaces, access, photographs, approvals and supplier review.
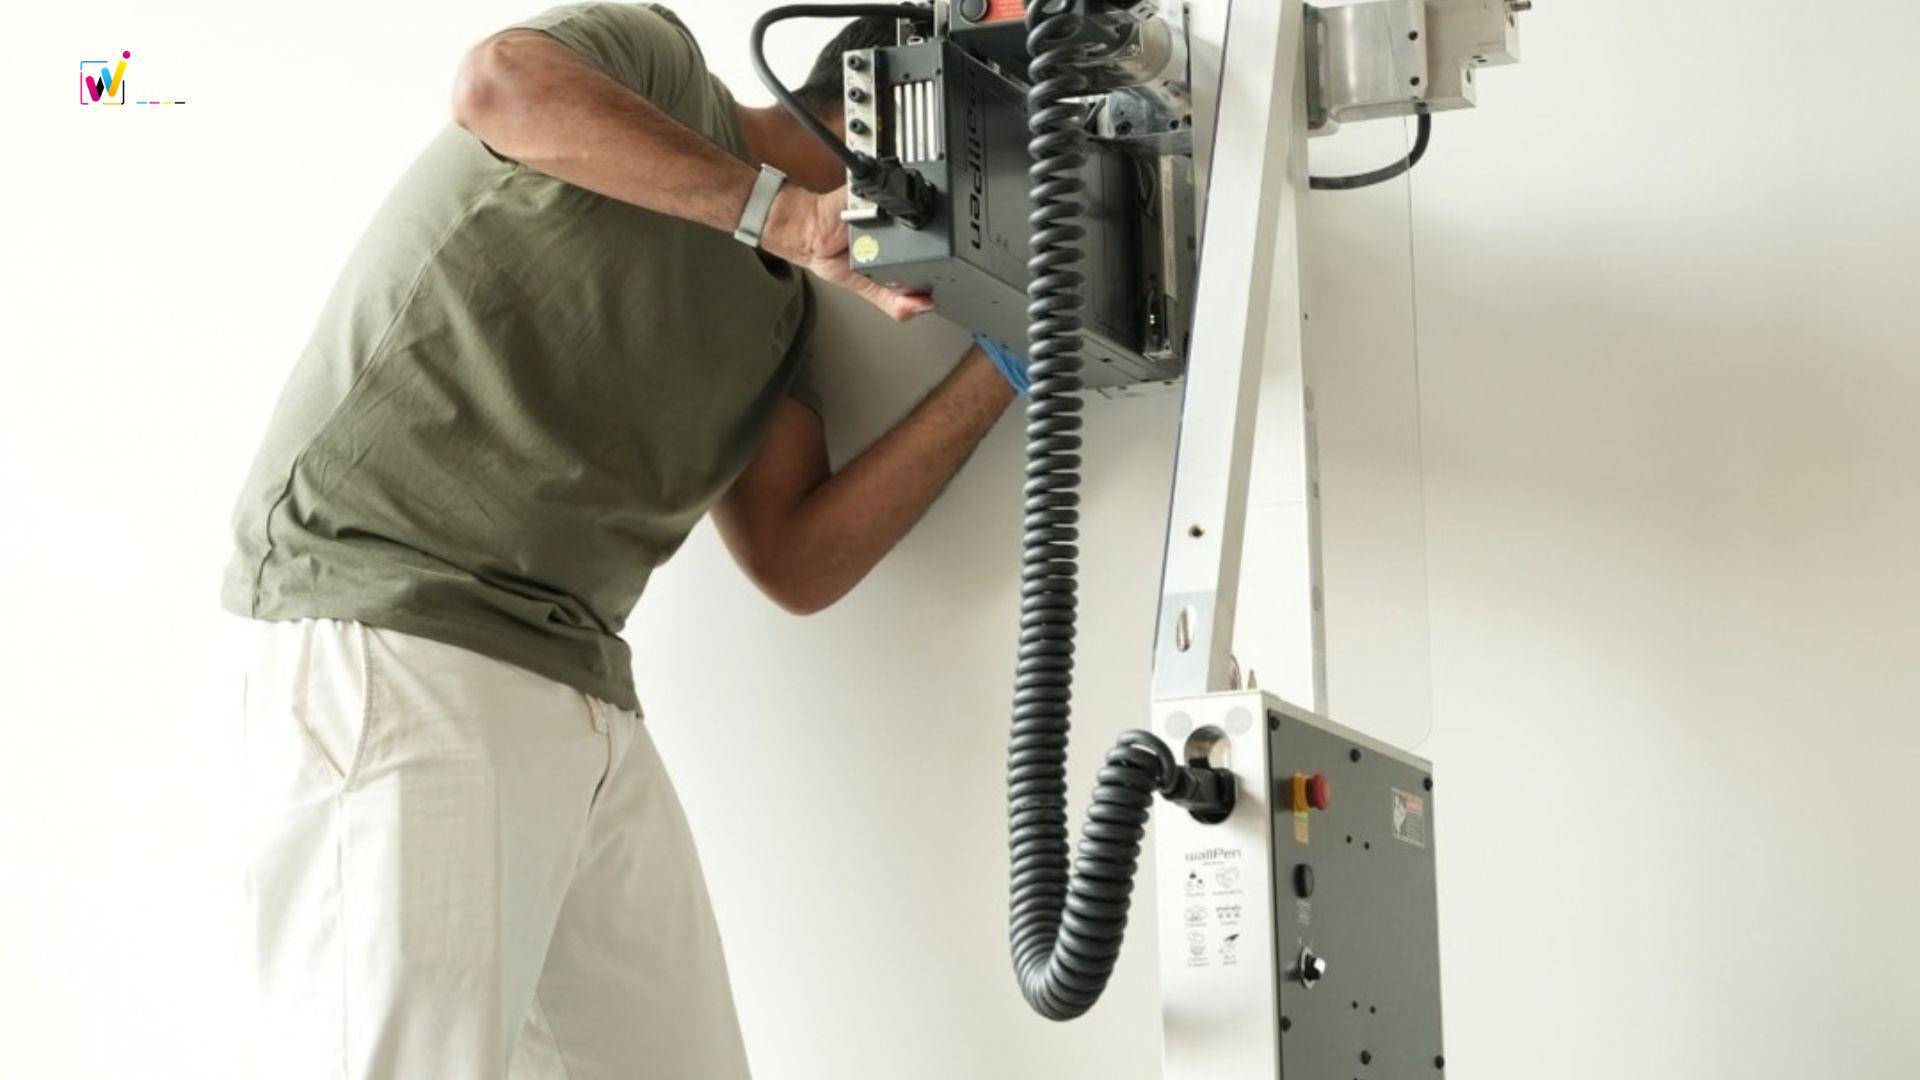
A wall printing site survey checklist should record wall dimensions, surface condition, equipment access, working space, power availability, artwork placement, site permissions, and outstanding preparation. Include dated photographs, a named site contact, and documented approval before confirming installation.
For project teams in Saudi Arabia, a wall mural site survey connects the design brief with actual site conditions. A suitable-looking wall may still have moisture damage, restricted access, or furniture blocking the printer’s movement.
Use the suggested checklist below to prepare information for supplier review. Final technical suitability and operating requirements must be confirmed by the printing provider.
Why Complete a Wall Printing Site Inspection?
A site inspection helps identify problems while there is still time to resolve them. It also clarifies who will prepare the wall, approve the artwork, and arrange access.
For example, a restaurant feature wall may be ready for printing, but fixed seating could restrict equipment positioning. A hotel corridor may offer enough space, yet require an approved working window to manage guest movement.
When planning wall printing in Saudi Arabia, assess the whole installation environment—not only the area where the artwork will appear.
Wall Printing Site Survey Checklist: What to Inspect
1. Define the Project Scope and Wall Location
Give each wall a unique reference, such as “Reception W01.” Use the same reference on measurements, photographs, artwork files, and approvals.
Record:
Project name, city, building, floor, and room.
Intended use: branding, decoration, wayfinding, or another purpose.
Number of walls and approximate printed area.
Indoor, covered outdoor, or exposed location.
Target completion date and dependencies on other contractors.
Review the relevant wall printing services to explain the intended application clearly. A café mural and a corporate identity wall may require different artwork, access arrangements, and approval processes.
2. Measure the Wall and Proposed Print Area
Record the overall wall width and height, then separately measure the intended artwork area. Include the position of doors, windows, sockets, switches, skirting, and permanent fittings.
Use millimetres or centimetres consistently. Note whether measurements are preliminary or verified.
Also record:
Distance from the floor to the artwork’s lower edge.
Available ceiling clearance.
Corners, recesses, columns, and projecting fixtures.
Any changes in wall depth or surface level.
A wall measuring four metres wide does not automatically provide four metres of usable print width. Equipment margins and positioning must be checked with the supplier.
3. Check Surface Condition and Preparation
Identify the substrate and existing finish: painted plaster, concrete, wood, glass, tile, or another material.
Look for peeling paint, dust, grease, cracks, damp patches, repairs, and pronounced texture. Manufacturer guidance includes checking that the printing surface is clean, dry, and suitable for UV printing.
Record paint or primer details where available. For newly painted walls, ask the supplier and coating manufacturer to confirm readiness; touch-dry paint should not automatically be treated as fully cured.
Flag moisture problems for investigation rather than covering them with artwork. Unfamiliar coatings or finishes may require a test area, with permission obtained first.
4. Inspect Floor Stability and Working Clearance
Measure the available space in front of and beside the wall. Record fixed seating, counters, shelving, steps, slopes, and floor transitions.
The printer needs a suitable operating area, not simply enough room to be carried inside. Equipment guidance also highlights stable flooring, overhead clearance, and obstacles in the printing zone.
Do not assume a universal clearance requirement. Ask the supplier to confirm the footprint and travel space for the equipment configuration proposed.
5. Verify the Equipment Access Route
Follow the complete route from unloading point to printing location.
Check door widths, corridors, lifts, stairs, thresholds, and security checkpoints. Confirm lift capacity with building management where relevant.
For malls, hotels, offices, or managed compounds in Saudi Arabia, establish whether contractor registration, loading-bay booking, or named personnel approval is required. These are site-specific arrangements, rather than identical requirements for every project.
Assign a site contact who can coordinate access on installation day.
6. Confirm Power, Environment, and Work-Area Controls
Identify the available power outlet and its distance from the operating area. Ask the supplier to confirm electrical requirements and suitable cable arrangements.
Record ventilation, lighting, nearby wet work, dust-generating activities, and exposure to heat, humidity, or weather. Obtain supplier confirmation of acceptable operating conditions.
Agree how people will move around the work area. Keep exits and circulation routes usable, and establish suitable separation from guests, customers, or staff.
Review how the wall printing process works when coordinating preparation, design approval, and installation.
7. Capture Useful Survey Photographs
Provide photographs that explain the space:
A straight-on view of the entire wall.
Wider views showing the floor and ceiling.
Close-ups of texture, damage, and fittings.
Images of the access route and restricted areas.
Label survey photographs with the wall reference and date. Include measurements in the survey notes rather than expecting reviewers to estimate dimensions from pictures.
The Wallinks project gallery can help communicate a preferred visual style. However, a completed-project photograph does not establish that your wall has the same technical conditions.
Follow the property’s photography rules and avoid capturing sensitive information unnecessarily.
8. Approve Artwork Placement and Responsibilities
Artwork approval should cover the final design, dimensions, orientation, placement, and treatment of obstacles.
Check Arabic and English wording, logos, cropping, and image usage rights. A layout preview helps communicate intent, but screen colour is not a guaranteed match to the finished wall.
For custom wall printing design, supply verified dimensions and identify the person authorised to approve revisions.
Separate design approval from technical approval. A client can approve the artwork while the wall still needs preparation or supplier review.
What Should a Print Wall Survey Form Include?
Use a short form that is easy to update and share:
Identification: project, location, wall reference, survey date, and surveyor.
Scope: wall dimensions, proposed print size, substrate, and finish.
Evidence: photographs, measurements, defects, and restrictions.
Operations: access route, site contact, power, and working window.
Approvals: property permission, access approval, artwork approval, and supplier review.
Actions: outstanding task, responsible person, deadline, and readiness status.
Keep one current version. If furniture, paint, dimensions, or access conditions change, update the form and notify the supplier.
Set a Clear Readiness Status
A practical wall printing feasibility checklist should end with a decision. Suggested statuses are:
Ready for booking: technical review and necessary approvals are complete.
Conditionally ready: identified preparation or permissions remain outstanding.
On hold: unresolved conditions prevent confirmation.
For example, record “repaint wall; facilities team responsible; supplier to recheck after coating readiness is confirmed,” rather than simply “wall not ready.”
Submit the completed information to request a wall printing project review. Avoid treating a preliminary quotation as proof that every installation condition has been approved.
Frequently Asked Questions
Can a wall mural site survey be completed using photographs?
Photographs support an initial review, but may not reveal moisture, coating adhesion, floor stability, or precise clearance. The supplier should decide whether an on-site inspection or further testing is necessary.
How much space does a wall printer need?
It depends on the equipment, print height, floor arrangement, and obstacles. Obtain project-specific clearance requirements before approving the layout.
Can printing start immediately after repainting?
Not automatically. Confirm the coating’s required drying or curing period and the printing supplier’s acceptance criteria before scheduling work.
Who should approve a wall printing site inspection?
Relevant approvals may come from the client, designer, property manager, facilities team, and printing supplier. Identify who approves each item and retain written records.
Where can teams find further wall printing planning guidance?
The Wallinks wall printing blog provides a place to explore related topics. Use project-specific supplier guidance to settle technical questions and installation requirements.
Complete the Survey Before Confirming Installation
A useful survey combines accurate measurements, clear site photographs, access arrangements, preparation responsibilities, and documented approval. Its purpose is to resolve uncertainty before equipment arrives.
Planning a project in Saudi Arabia? Contact Wallinks to discuss your wall printing project. Share your location, dimensions, photographs, and intended timeline so the team can review the next steps.