
Wall Printing Artwork File Requirements: A Practical Preflight Checklist
Prepare wall printing artwork with this practical checklist for file formats, image quality, final size, fonts, site photos, and supplier approval.
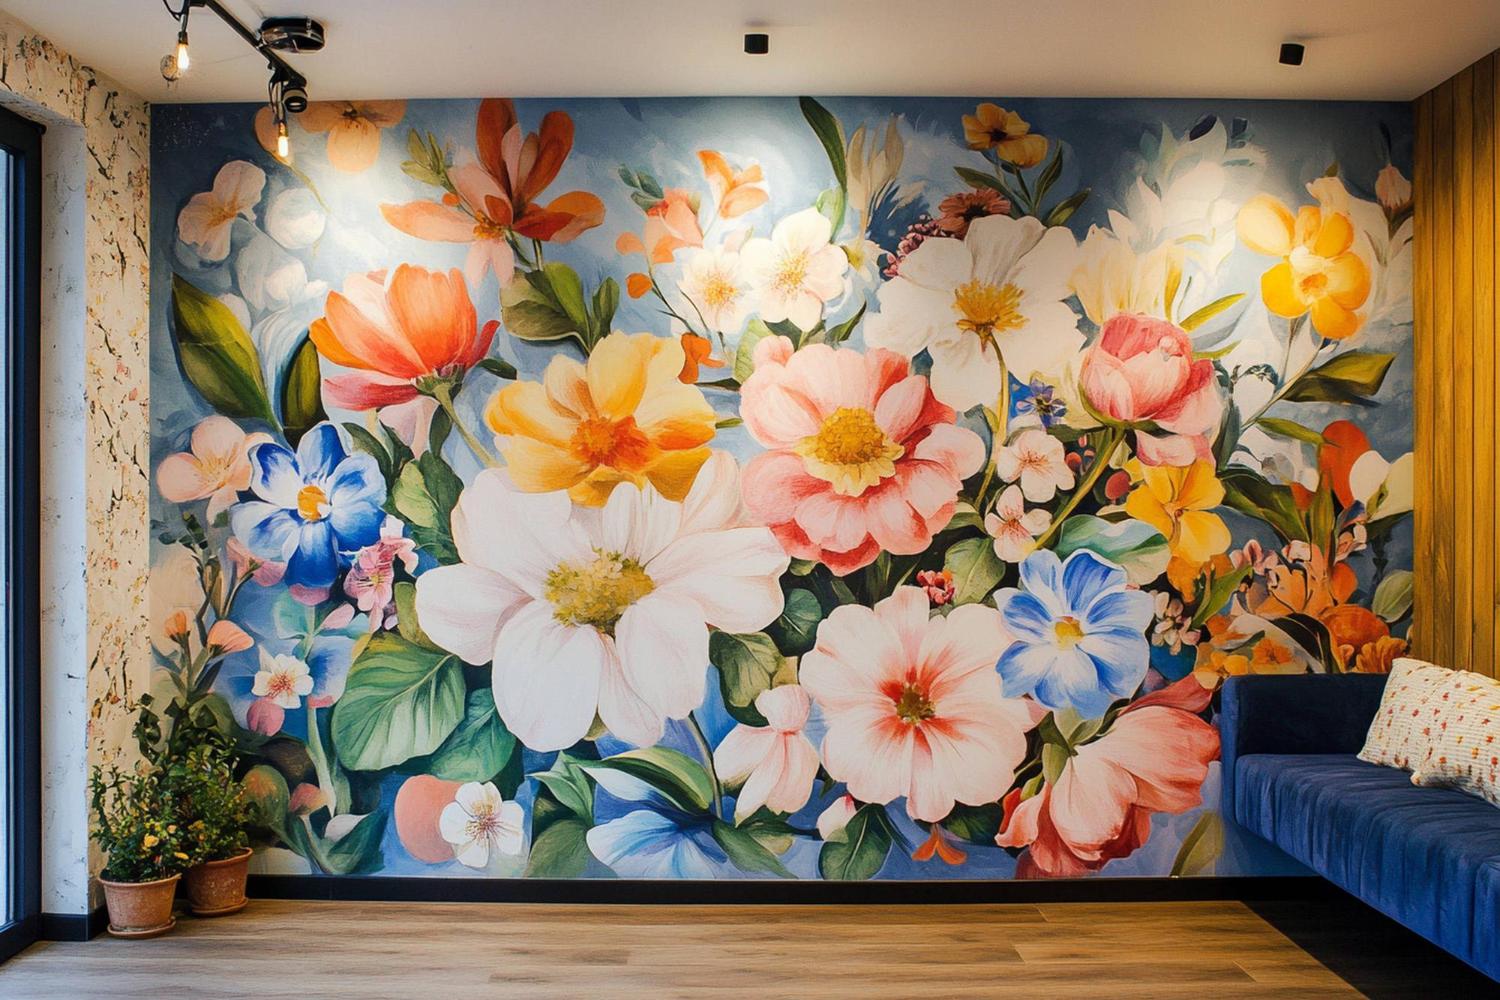
The main wall printing artwork file requirements are straightforward: provide the design at the agreed final print size or scale, use a suitable file format, make sure images have enough detail for the intended viewing distance, and confirm colors, fonts, and placement before production. Exact specifications vary by printer and project, so ask the supplier to review the artwork before treating it as print-ready.
This checklist can help you prepare artwork for a home, office, retail space, or other wall-printing project in Saudi Arabia. It also clarifies what to send when you are still developing the design.
Wall printing artwork file requirements to confirm first
Before exporting a file, agree on the project scope with your printer. Confirm:
The wall or print area’s width and height, with units clearly stated
The intended orientation and the design’s placement on the wall
The accepted file formats and maximum upload size
Any machine, surface, color, or artwork limitations
Whether the supplier needs a full-size file or a scaled layout
There is no single file specification that suits every wall printer. A supplier review can catch practical issues before production. See how the Wallinks wall-printing process works to understand where artwork review fits into a project.
Choose a suitable wall printing file format
A print-ready PDF is often useful for sharing a composed layout, but the best format depends on the artwork and the supplier’s workflow. Ask which formats they accept before exporting.
Vector artwork
Logos, icons, line drawings, and many text-based designs are well suited to vector artwork. Vector files can be resized without the same loss of sharpness associated with enlarging a raster image. Common vector formats include PDF, AI, and EPS, but confirm which ones your supplier can open and process.
Raster image
Photographs, textured illustrations, and digital paintings are usually raster images made from pixels. Check that the image has enough detail at the final print size. A file that looks sharp on a phone may appear soft when enlarged across a wall.
There is no universal resolution figure that guarantees a good result. The suitable resolution depends on the image, final dimensions, printing system, and how close people will stand to the wall. Ask the supplier to assess the actual file rather than relying only on its pixel dimensions or a DPI label.
For examples of completed work, browse the Wallinks wall-printing gallery.
Artwork preparation for wall printing: the checklist
1. Set the final print size and scale
Label the artwork’s dimensions clearly, for example, “Width: 4 m; Height: 2.5 m.” If you are supplying a scaled file, state the scale in the file name or a note, such as “1:10 scale.” Don’t assume the print team will infer the intended size from the artwork alone.
2. Check image quality at the intended viewing distance
Inspect the original images at a useful zoom level. Watch for pixelation, blur, compression artifacts, and low-detail sections—especially around faces, fine patterns, and small text. Avoid enlarging a small web image without first checking its quality at the planned wall size.
3. Prepare fonts and text
For vector files, ask whether fonts should be converted to font outlines or embedded. Outlining helps avoid font substitution when the file is opened on another system, but it also makes text less convenient to edit. Keep a separate editable copy for future revisions.
For Arabic or other right-to-left text, check direction, letter shaping, spacing, and punctuation in the exported file. Review the actual PDF or proof; don’t rely only on how the text appears in your design software.
4. Confirm color and transparency
Ask the supplier whether to submit colors in RGB, CMYK, or a specified profile. Don’t convert color settings without instruction: the print system and material can affect the final appearance. If exact brand colors matter, identify them and request a review or proof.
Also confirm how transparent areas, shadows, and overlapping layers will be interpreted. A flattened file can reduce compatibility issues, while a layered file may help with revisions. Follow the supplier’s preference.
5. Include site photographs and wall details
Share clear site photographs showing the entire wall and the surrounding area. Include measurements and point out doors, switches, fixtures, corners, or other obstacles that could affect composition or printing access. A mockup can show intended placement, but it does not replace accurate wall measurements.
6. Name files clearly and request a review
Use clear file names that identify the client or project, wall, dimensions, and version—for example, Lobby_WallA_4x2.5m_v03.pdf. Remove outdated exports from the delivery folder so the supplier can identify the intended version.
Before production, request a final review and provide documented approval for the design, size, placement, and color expectations. Keep the approved file and any notes together. If you need help creating or adapting a design, explore Wallinks custom design options.
What to send if your artwork is not finished
You may not need a final production file to start a conversation. Depending on the project, a useful brief can include:
A sketch, reference image, or logo
Wall measurements and site photographs
The preferred style, colors, and purpose of the space
Required text, language, and brand assets
Any elements that must remain clear or unobstructed
The supplier can then advise what needs to be prepared and whether the proposed artwork is suitable for the wall and printing process.
Frequently asked questions
What is the best wall printing file format?
There is no single best format for every job. Vector artwork is often appropriate for logos and text, while raster images are common for photographs. Ask the printer which file types they accept and whether they need a PDF, source file, or both.
Does a wall mural need to be 300 DPI?
Not necessarily. Required resolution depends on final print size, viewing distance, image content, and the printing system. Ask the supplier to check the file at its intended dimensions.
Should I outline fonts in my artwork file?
Ask the supplier. Font outlines can prevent font substitution, but outlined text is harder to edit. Keep a separate editable source file in case changes are needed.
Can I submit a phone photo or screenshot?
It can help communicate an idea, but it may not be detailed enough for a large print. Send the original image when possible and request a supplier review before using it as print-ready wall mural artwork.
What should I approve before wall printing begins?
Review the final dimensions, design placement, text, colors, image quality, and any visible wall features included in the layout. Keep the approval and the corresponding file version together.
Prepare your artwork for review
A clear brief, accurate measurements, suitable image quality, and documented approval make it easier to assess artwork before production. Confirm the required file format and technical details with the supplier, since specifications can vary by project. To discuss your wall, artwork, or file checklist, contact Wallinks about your wall-printing project.