
Staircase Wall Printing: Feasibility Before the Design Mood Board
Staircase wall printing planning: split the wall into zones, check landings, floor levels and access, then choose a design that suits the confirmed areas.
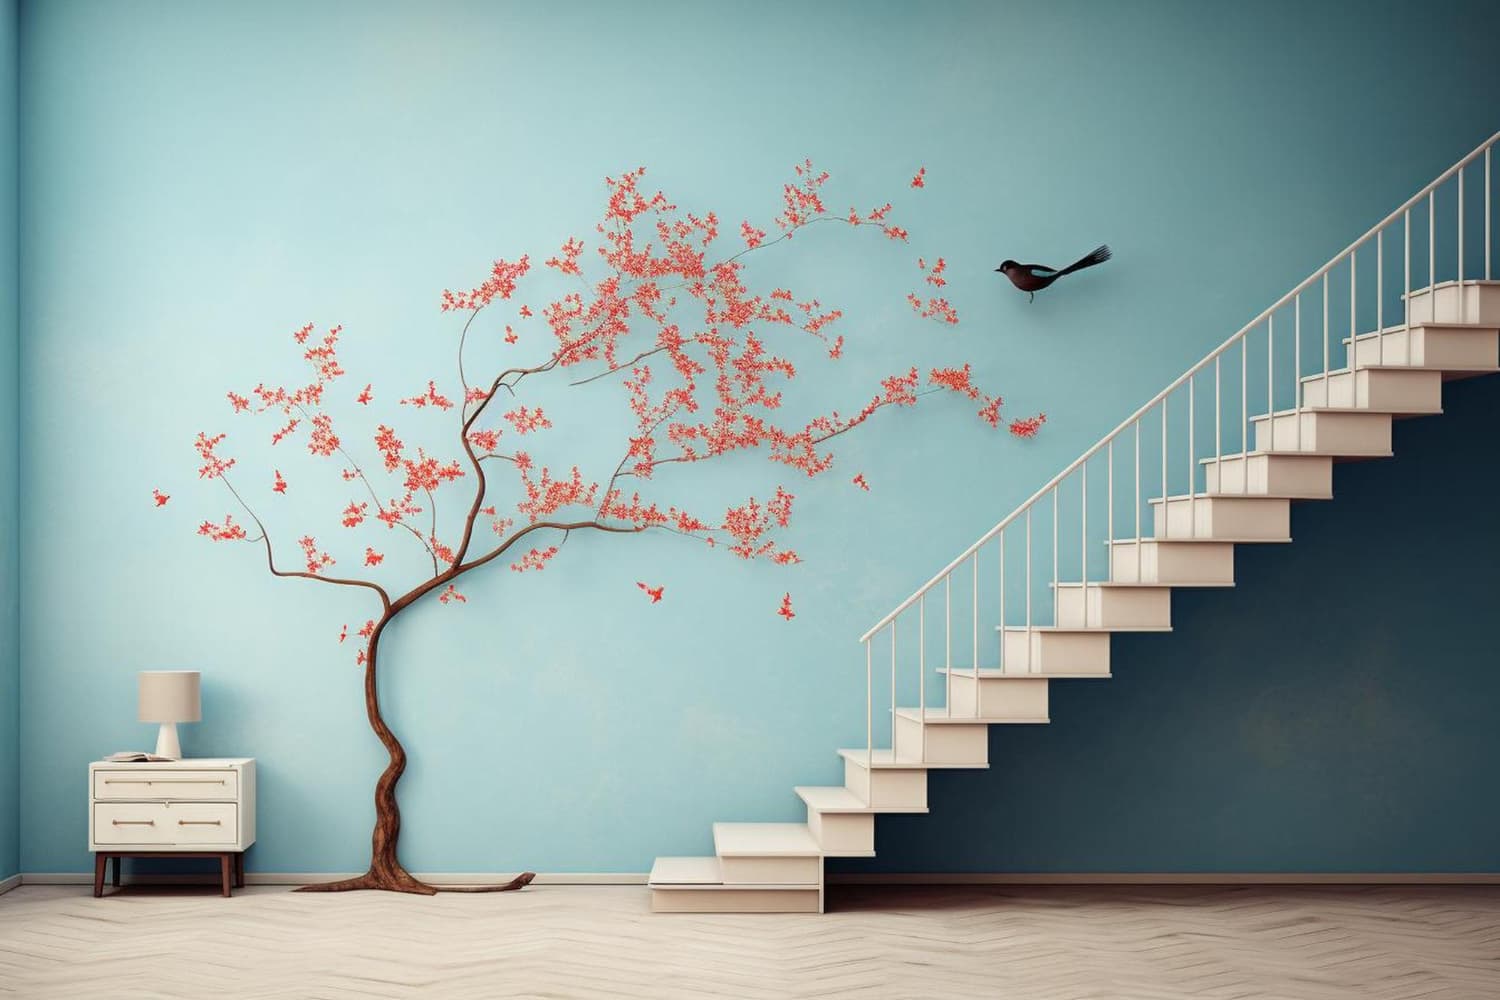
Staircase wall printing planning starts with feasibility, not artwork. Before choosing a mural style, confirm whether the printing equipment can stand level in front of each wall section, how high the design needs to reach, whether landings are deep enough to work from, and which areas need access equipment. A site assessment answers these questions before design approval.
A staircase wall is one of the most visible surfaces in a Saudi villa. It is seen from the entrance, from the upper hall and by everyone moving between floors. That visibility makes it tempting to start with a mood board. Stairs, however, are also the most awkward walls to print: the floor slopes, the wall changes height along its length and the safe working area is often small. This guide explains how to judge feasibility first, so the design you approve is one that can actually be delivered.
Why Is Staircase Wall Printing Planning Different From a Flat Wall?
On a standard room wall, the floor in front is level and the printable height is roughly constant. A stair wall breaks both assumptions:
- Sloping floor: along the flight, there is no flat, continuous surface in front of the wall for equipment to stand on.
- Changing height: the wall above a stair flight is short at the top step and very tall at the bottom, often reaching double height in villa entrance halls.
- Landings: landings and floor levels are the only flat areas, and their depth decides what can be set up there.
- Movement: the stairs are usually the only route between floors, so work has to be planned around the household.
Because of this, every stair project should be treated as a set of separate wall zones rather than one large canvas. Our wall printing site survey checklist covers the general survey; the sections below focus on what changes on stairs.
How Do You Split a Stair Wall Into Workable Zones?
Look at the wall in elevation and divide it by what is underneath each part:
- Ground-floor zone: wall area beside the bottom of the stairs where the floor is level.
- Landing zone: wall area directly above or beside an intermediate landing.
- Upper-floor zone: wall area facing the upper hall or gallery, again above a level floor.
- Flight zone: the triangular or sloping area directly above the stair treads.
Ground, landing and upper-floor zones are usually the most straightforward because they sit above level floors. The flight zone is where feasibility questions concentrate. Some flight areas may be reachable only with suitable access equipment, and some may be better left as painted wall that frames the printed sections.
What Should Be Checked Before Any Design Work?
A practical feasibility check covers these points. Record them with photographs and measurements so the design team works from facts:
- Landing depth and width: measure every landing, including any handrail returns, to see what can be set up safely.
- Floor levels: note the height difference between ground floor, landing and upper floor, because designs often need to align across them.
- Machine clearance: check the space in front of each zone against the equipment's stated requirements; the supplier confirms this on site.
- Handrails and balustrades: glass or metal balustrades can block access and may need protection during work.
- Wall condition: look for cracks, damp, fresh plaster or textured paint, especially on tall walls that have not been inspected closely.
- Lighting and fixtures: chandeliers, wall lights, switches and sensors on stair walls affect both access and composition.
- Viewing angles: stand at the entrance, the bottom step, the landing and the upper hall to see how the wall is actually viewed.
Which Design Approaches Suit Staircase Walls?
Once the printable zones are known, the design can respond to them instead of fighting them.
Rising or stepped compositions
Designs that follow the line of the stairs, such as branches, waves or geometric bands that climb with the steps, suit walls where printing is confirmed along the flight.
Framed panels on level zones
Where the flight zone is difficult, a series of framed panels on the ground, landing and upper zones can create a strong visual journey while keeping printing to accessible areas.
Large focal pieces on double-height walls
In villa entrance halls, the tall wall facing the stairs is often the real focal point. If it sits above a level floor, it may be more practical than the wall directly above the flight. Our guide to printing on villa entrance and double-height walls explains how to plan these surfaces.
Heritage and calligraphy bands
Horizontal bands of pattern or calligraphy at landing level can connect floors without needing coverage of the whole wall.
How Does Viewing Angle Change the Design?
People rarely see a stair wall straight on. They see it while climbing, from below, or from across the entrance hall. That affects scale and placement:
- Detail placed high on a double-height wall may be lost when viewed from the floor below.
- Faces, text and calligraphy can distort when viewed from a sharp angle on the stairs.
- The most-seen area is often the wall at the turn of the stairs, where people pause and look up.
A simple mock-up placed on a photograph taken from each viewpoint helps catch these problems before approval. For more on choosing which wall deserves the artwork, read our wall mural placement ideas.
What Are Common Staircase Wall Printing Mistakes?
- Approving the design before the survey. The artwork then has to be cropped or reworked once access limits are found.
- Treating the wall as one rectangle. Stair walls are irregular shapes; files must follow the real outline.
- Ignoring floor-level alignment. A horizon line that looks continuous on screen may break across landings.
- Forgetting the household routine. Work on the only staircase needs agreed times and safe routes.
- Assuming every stair wall can be printed. Some sections may not be suitable; a good assessment says so clearly.
Frequently Asked Questions
Can every staircase wall be printed?
Not always. Walls beside level floors and landings are usually the easiest to assess. Areas directly above a stair flight depend on access, ceiling height, wall condition and the equipment used. A site assessment should confirm which zones are suitable before any design is approved, and some sections may be better left painted to frame the printed areas.
Why should feasibility come before the mood board?
Because the printable zones decide the shape of the design. If you approve artwork first, it may need cropping or reworking once access and landing limits are measured. Starting with feasibility means the design team creates artwork for the real, confirmed surfaces, which saves revision time and avoids disappointment on installation day.
What information should I send for a staircase project?
Send photographs of the stair wall from the entrance, bottom step, landing and upper hall, plus approximate wall heights, landing measurements, the city and any artwork ideas. Mention balustrade type, lighting fixtures and any recent plastering or painting. This helps the team judge feasibility before arranging a site visit.
Do landings make staircase printing easier?
Often, yes. Landings provide a level working area, so the wall beside or above them is usually simpler to assess than the wall directly above the treads. Their depth and width matter, along with handrail returns and doors. Every landing should be measured during the survey rather than assumed to be large enough.
How is a stair mural kept consistent across floors?
The design is planned in elevation, with floor and landing levels marked, so that horizon lines, bands or rising elements align across zones. Mock-ups placed on photographs from each viewpoint show whether the composition reads as one piece. Final alignment is confirmed on site before printing starts.
Conclusion
Successful staircase wall printing planning reverses the usual order: assess first, design second. Split the wall into ground, landing, upper and flight zones, measure landings and floor levels, check access and wall condition, and only then choose a composition that suits the confirmed surfaces and the way people actually see the wall. That approach protects both the design and the schedule.
Planning a staircase or entrance-hall mural in Riyadh or Jeddah? Share your stair wall photos and measurements with WallInks and request a feasibility assessment before you finalise the design.