
How to Prepare a Wall for Printing Without Missing the Basics
Learn how to prepare a wall for printing: check its condition, dryness, measurements and access, then send Wallinks the details needed for a project review.
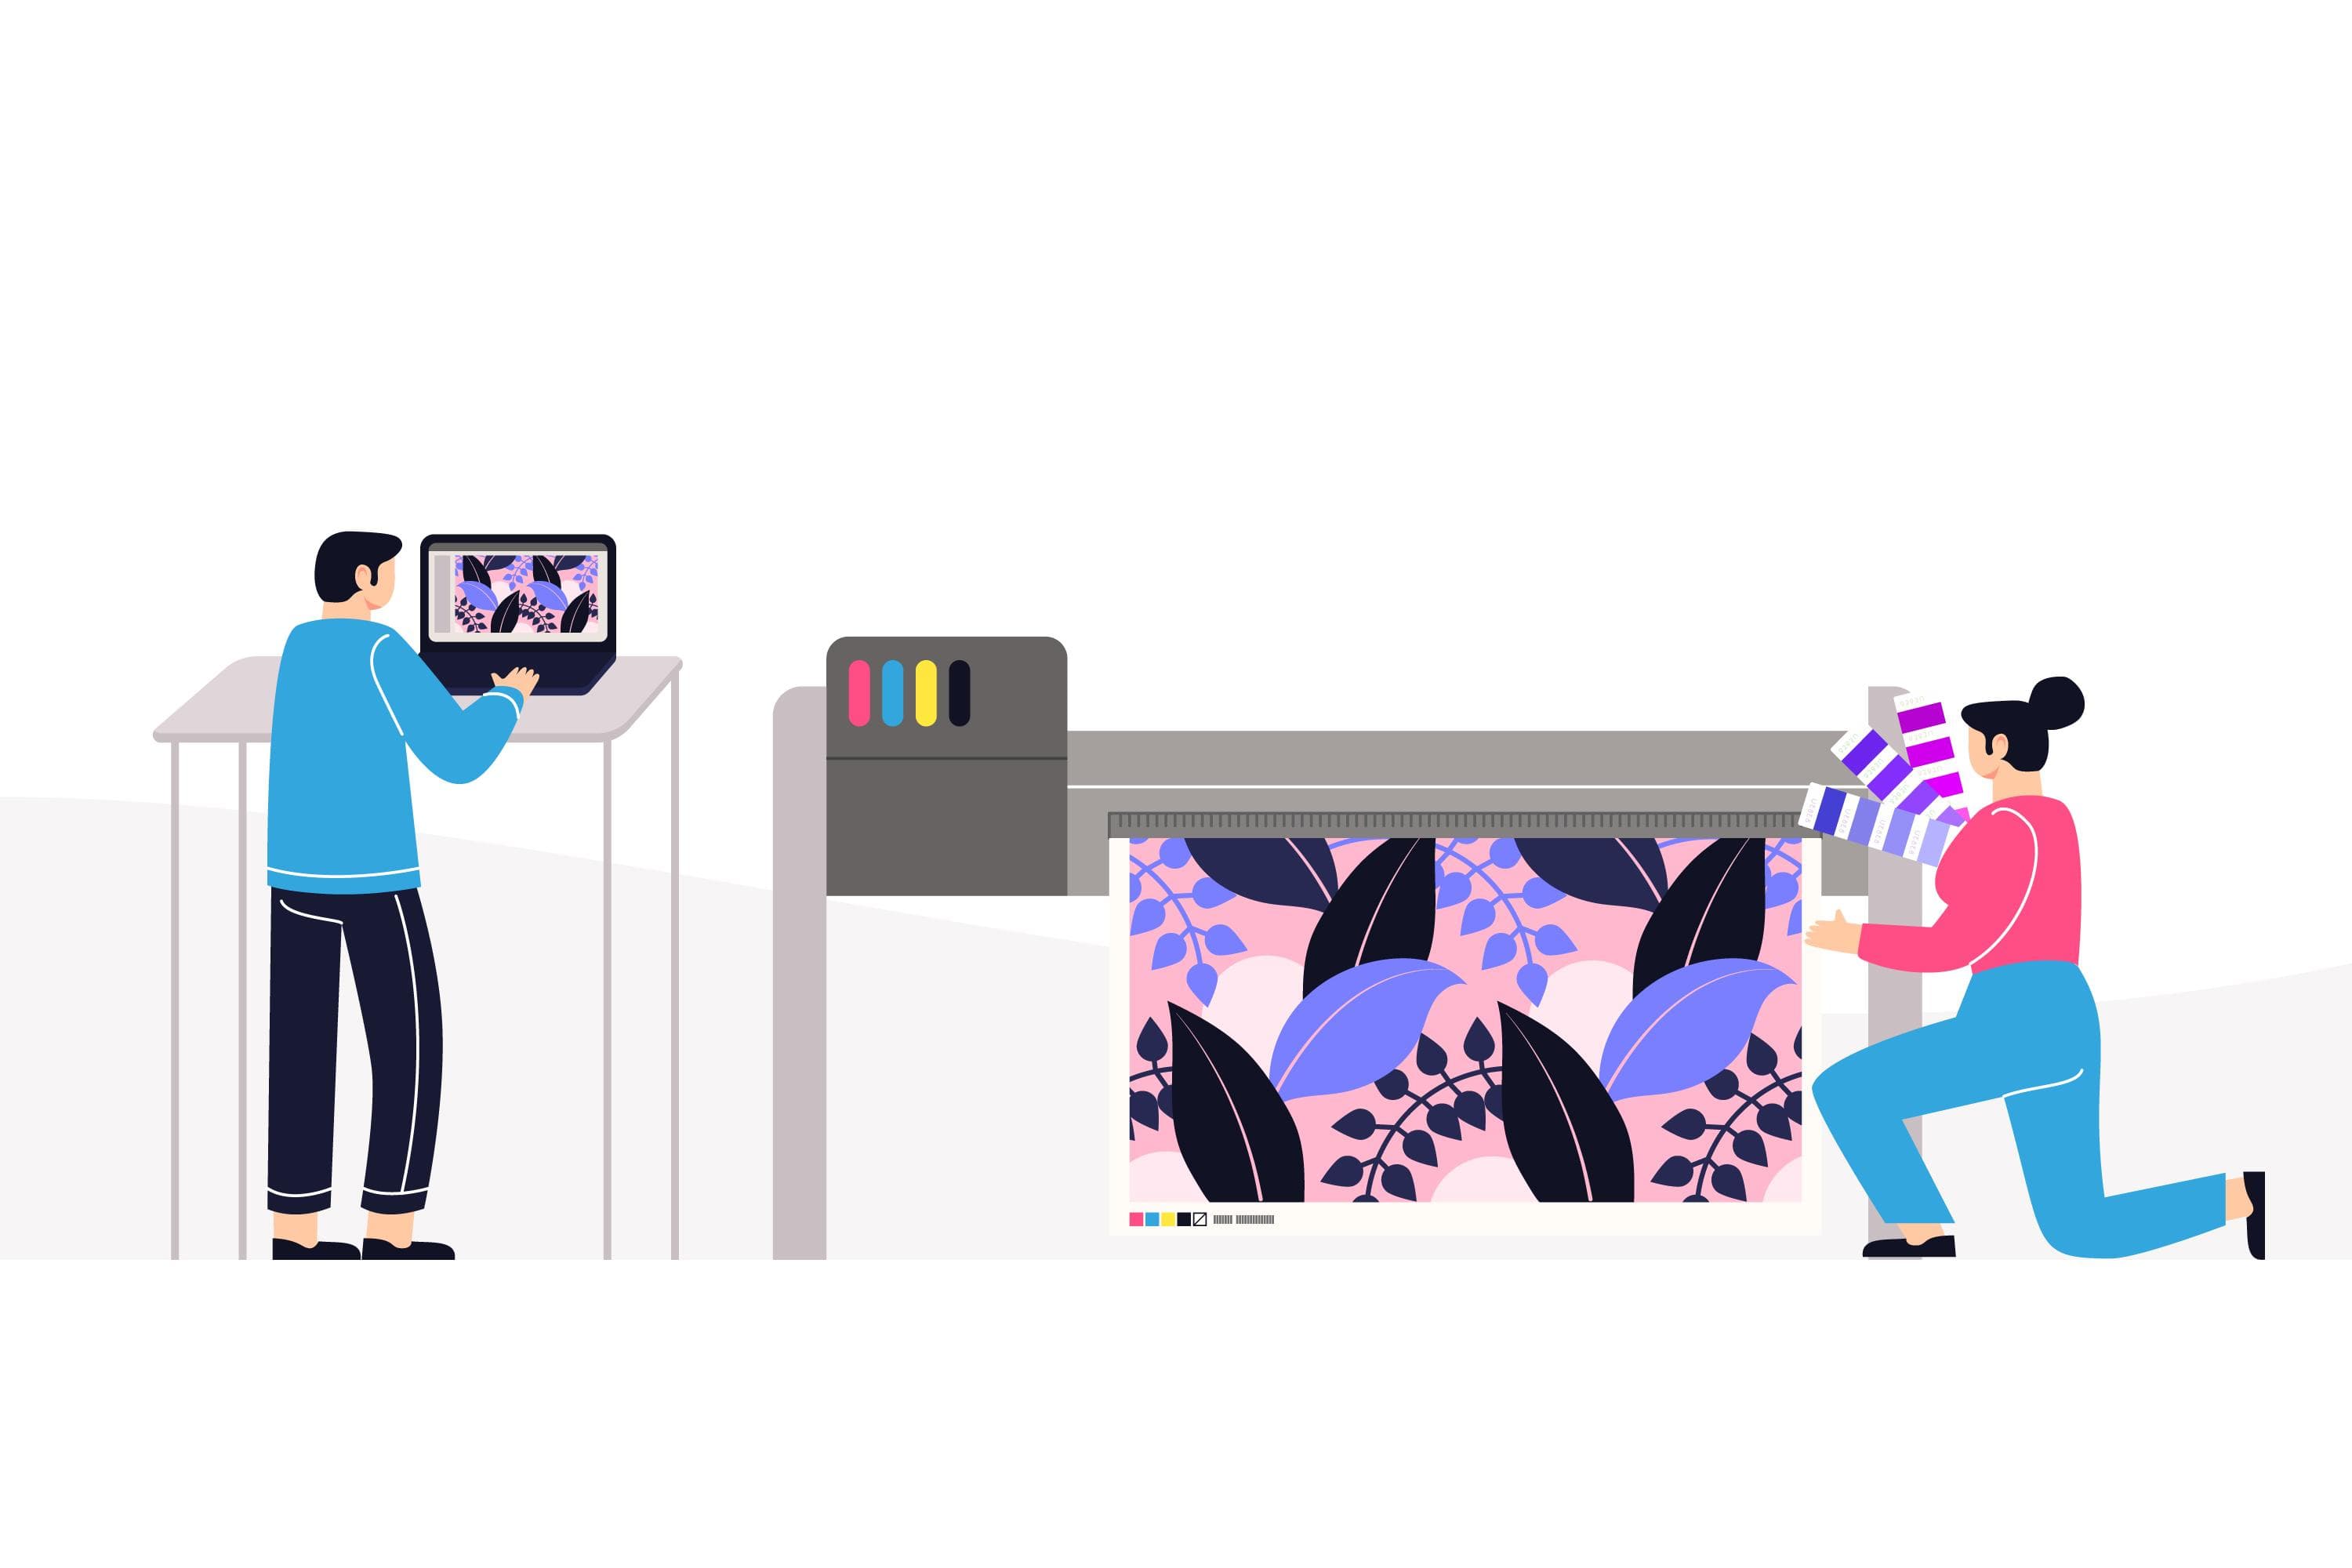
To prepare a wall for printing, make sure the surface is sound, clean, dry, and accessible. Check for peeling paint, cracks, damp patches, heavy texture, and objects that may obstruct the design. If the wall has recently been painted or repaired, tell the printing team before confirming an appointment.
Good wall preparation for printing begins with a review of the actual surface. A wall that looks fine in a room photograph may still need repair, more drying time, or a different design placement. Send clear photos and measurements to Wallinks so the team can advise on the next step for your project in Riyadh, Jeddah, or elsewhere in Saudi Arabia.
How to Prepare a Wall for Printing: The Essential Checks
Use this wall printing preparation checklist before your appointment:
Inspect the surface. Look for cracks, loose plaster, flaking paint, stains, dampness, and uneven repairs.
Confirm it is dry. Check recently painted areas, repaired patches, and any place with a history of water damage.
Clean the print area. Remove dust, grease, fingerprints, and other residue using a method suitable for the wall finish.
Measure the usable space. Note the wall’s width and height, along with sockets, switches, doors, trim, and fixed fittings.
Check access. The team needs room to bring in equipment and work along the proposed print area.
Share the details before booking. Photos, measurements, surface information, and your design idea help the team assess whether anything else is needed.
This checklist helps you identify issues early. It does not replace an assessment of the specific wall and finish. Direct-printing equipment can handle a range of surfaces, but dirt, grease, unsuitable coatings, and surface irregularities can affect the result.
Check the Wall’s Condition Before Cleaning It
Repair loose or damaged areas
A print follows the surface beneath it. It will not secure loose paint, repair a crack, or hide an uneven patch. If you spot damage, photograph it and discuss the required repair before scheduling the print.
For a newly repaired wall, check that the filler, plaster, primer, and paint have been completed according to their product instructions. The person responsible for the wall finish should confirm when it is ready for further work.
Investigate dampness rather than covering it
A water stain, bubbling paint, or recurring damp patch needs attention before printing. Cleaning or repainting the visible mark without addressing its cause may leave the surface unsuitable.
If you are unsure whether a mark is old or active, tell Wallinks and send a close-up photograph. Avoid treating a photo review as confirmation that hidden moisture has been resolved.
Clean without damaging the finish
A smooth painted wall may need relatively little preparation if it is already clean, dry, and sound. Remove surface dust and visible marks, but avoid aggressive scrubbing or applying an unfamiliar chemical just before the appointment. Allow any cleaned area to dry fully.
Glass, tile, wood, concrete, and textured finishes can have different cleaning or preparation needs. If your proposed print area is not a standard painted wall, identify the material when requesting a review. Surface suitability should be confirmed for the specific project rather than assumed from a general list of printable materials.
Can You Prepare a Recently Painted Wall for Printing?
You can send photos and project details immediately, but do not assume a recently painted wall is ready to print. Paint may feel dry to the touch before it has reached the condition required by its manufacturer. The timing depends on the paint, coating system, room conditions, and any repairs underneath.
Tell Wallinks:
When the wall was painted or repaired
Which paint and primer were used, if known
Whether any areas still feel tacky or show uneven colour
Whether the space has had moisture or ventilation issues
The team can then advise whether to review the wall further or allow more time. There is no reliable universal waiting period for every wall finish.
Confirm the Design Area and Equipment Access
When you prepare a wall for a mural, measure the usable print area, not just the full wall. A design may need to sit above furniture, between architectural features, or away from switches and sockets. Mark these features on a straight-on photograph so the proposed size and placement are clear.
Also check whether movable furniture can be cleared and whether the team can reach the wall safely. Tell Wallinks about fixed counters, stairs, narrow access, or other restrictions before agreeing on a date. The final placement and equipment requirements should be confirmed during project planning.
If the artwork is still being developed, discuss the intended size, colours, and placement through Wallinks’ custom wall design service. You can also review the wall printing gallery to help communicate the type of result you have in mind.
Who Handles Wall Repairs and Final Readiness?
Agree on responsibility before the appointment. Do not assume surface repairs, painting, moisture treatment, or removal of fixtures are included in the printing work. Ask Wallinks which conditions it needs the wall to meet, then confirm who will complete any preparatory work.
The direct wall printing services in Saudi Arabia page provides a starting point for discussing the project. For the sequence from enquiry to installation, review how the Wallinks process works. Confirm the scope for your particular wall directly with the team.
A wall is ready for printing when its finish is sound, dry, appropriately clean, suitable for the proposed print, and accessible to the equipment. Wallinks should confirm that readiness for your project after reviewing the relevant details.
FAQs About Wall Preparation for Printing
What should be checked before a wall-printing appointment?
Check for loose paint, cracks, uneven repairs, dirt, grease, and signs of moisture. Confirm the usable wall measurements, note any switches or fittings, and make sure the team can access the print area. Share anything uncertain before the appointment.
Who is responsible for wall repairs?
Responsibility should be agreed upon as part of the project scope. Ask Wallinks what condition the wall must be in and whether repairs, repainting, or fixture removal need to be arranged separately.
Can a recently painted wall be assessed immediately?
Yes, you can send photographs and paint details for an initial review. That does not mean printing can begin immediately. The paint and any underlying repairs may need more time, depending on the products used and the wall’s condition.
Which conditions require the appointment to be rescheduled?
Active dampness, peeling paint, incomplete repairs, an unsuitable or still-tacky finish, and blocked equipment access may prevent printing as planned. Contact Wallinks as soon as you notice an issue so the team can assess whether a new date is needed.
What photographs and documents should I send Wallinks for a project review?
Send one straight-on image of the full wall, wider photos showing access and surrounding space, and close-ups of any cracks, stains, texture, or repairs. Include approximate width and height, your location, the proposed design, and paint or surface details if available.
Prepare the Surface, Then Confirm the Plan
A clean wall alone is not enough: check its condition, dryness, usable dimensions, and access. Resolve visible defects and share anything uncertain before committing to a printing date. That gives the team the information needed to assess the surface and plan the design.
Ready to discuss your wall in Riyadh, Jeddah, or elsewhere in Saudi Arabia? Send your wall photos and project requirements to Wallinks to confirm the appropriate next step.